
WordPress Malware Removal is not an easy task for a beginner. So, WPMarks is here to guide you with our easy steps.
It is not a simple process to remove malware from a hacked WordPress site. And, with Google implementing a 30-day restriction on on-site reviews to deter repeat offenders from spreading malware, thoroughly cleaning up a compromised site is more vital than ever.
How to Detect Malware in WordPress Website
There are many methods for determining whether your WordPress website or blog has been hacked or infected with malicious software or malware.
The most critical aspect of protecting against every sort of threat is prevention, which implies we must take specific action to remove malware from our WordPress site and secure our website.
Many things can happen when malware infects a website, but one thing is sure: none of them are positive. Here are the problems or unusual activities a website shows that might help you to Detect Malware in WordPress Website:
- Increase the use of server resources, including web and MySQL.
- Google Penalty or Google Blacklisting
- Messages indicating that your site is compromised – “This Site May Be Hacked” Google Message
- Unwanted advertising appears
- Bulk spam email distribution
- Ransomware for WordPress
- Phishing assault against WordPress
Steps for WordPress Malware Removal
Here are some easy steps one can implement in order to easily remove malware from their WordPress site:
Step 1: Create a Backup of your Website Files and Database
If possible, use the web host’s site snapshot feature to backup the whole site. This is the most comprehensive backup of your complete server. However, it may be pretty huge, so be prepared for a lengthy download.
Some of the locations may be pretty huge. For example, the uploaded file might be more significant than 1GB. Because it includes all of your uploads, the wp-content folder is the virtual folder on your server. If you cannot run a backup plugin and your web host does not offer a “snapshots” function, you can utilize the web host’s File Manager to create a zip archive of your wp-content folder and then download that zip file.
If you have numerous WordPress installations on the server, you should back them up individually.
Step 2: Now Examine the backup files that you have downloaded
Save it to your computer once the site has been backed up, and double-click the zip file to open it. You should look at:
- WordPress Core Files: You may download WordPress from WordPress.org and compare the files in the download to your own. Of course, you won’t need these files, but you could need them later in your investigation into the breach.
- The file wp-config.php: This is significant because it contains your WordPress database’s name, username, and password, which we will utilize during the restoration process.
- .htaccess file: The only way to tell if you backed this up is to open your backup folder in an FTP software (like FileZilla) or code editing application (like Brackets) that allows you to examine invisible files (tick the Show Hidden Files option) inside the application’s UI.
- wp-content folder: There should be at least three directories in the wp-content folder: themes, uploads, and plugins. Do you see your theme, plugins, and pictures that you’ve uploaded? If this is the case, it is a positive indication that you have a robust site backup.
- The database: Your database should be exported to a SQL file. We will not be deleting the database during this procedure, but it is always a good idea to keep a backup.
Step 3: Remove all files from the public_html subdirectory
After you’ve confirmed that you have a complete backup of your site, remove all of the files in your public_html folder. But don’t remove the CGI-bin folder, as well as any server-related directories that are free of compromised files
If you host different websites on the same account, you may presume they have all been compromised as well. Cross infection is quite prevalent. It would be best if you cleaned ALL of the sites, so back them up, download the backups, then proceed with the procedures below for each one.
Step 4: Now Reinstall WordPress
Now you can easily Reinstall WordPress in the public HTML directory if it was the original location of the WordPress installation or in the subdirectory, if WordPress was installed in an add-on domain, using the one-click installer in your web hosting control panel.
Using the backup of your site, update the wp-config.php file on the new WordPress installation to utilize the database credentials from your previous site. This will link the new WordPress installation to the existing database. I don’t advocate re-uploading your old wp-config.php file because the new one will contain fresh login encryption salts and will almost certainly be devoid of compromised code.
Step 5: It’s time to Reset Passwords and Permalinks
Log in to your site and change all of the user names and passwords. If you notice any users you don’t recognize, your database has been compromised, and you should contact a specialist to ensure that no undesirable code remains in your database.
Navigate to Settings >> Permalinks and save your changes. This will restore your .htaccess file, allowing your site’s URLs to function again. Make sure that when you removed files on your server, you showed invisible files to avoid leaving any hacked .htaccess files behind.
Step 6: Reinstall all your Themes and Plugins
Install your theme again from a new download. If you modified your theme files, go to your backup files and duplicate the modifications on a new copy of the theme. Do not upload your previous theme since you may not tell which files have been stolen.
Reinstall all of your plugins from the WordPress source or a paid plugin developer. Installing outdated plugins is not a good idea. Likewise, installing plugins that are no longer supported is not a good idea.
Step 7: Upload Images from Your Backup
This is a tricky part. You must copy your old picture files back up to the server’s new wp-content >> uploads folder. You do not, however, wish to transfer any compromised files in the process. You must carefully review each year/month folder in your backup and look within each folder.
Step 8: Now scan the computer
Scanning your own computer for viruses, trojans, and spyware is a good idea.
Step 9: Finally install all those security plugins
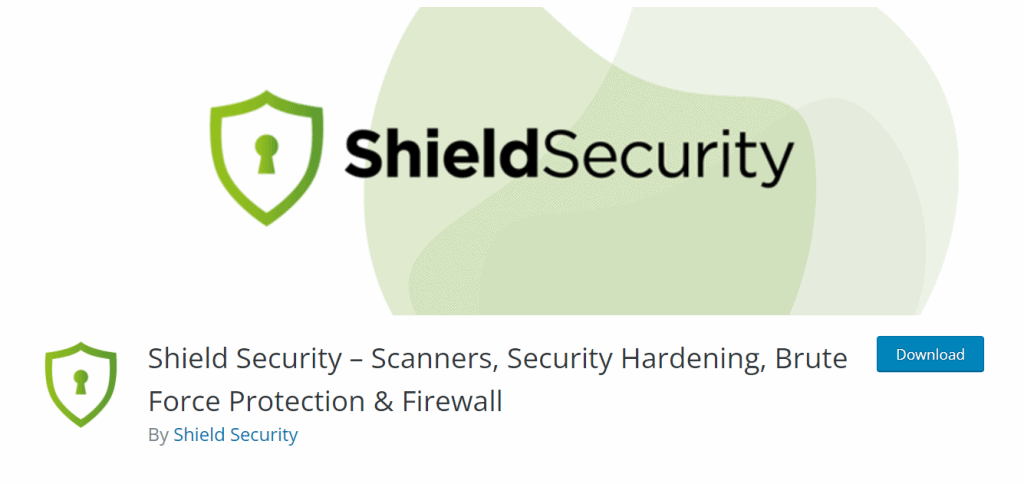
First, Install and activate the iControlWP Shield WordPress Security plugin. Then, examine all of its settings. Finally, we suggest using the Audit function for a few months to keep track of any site activities.
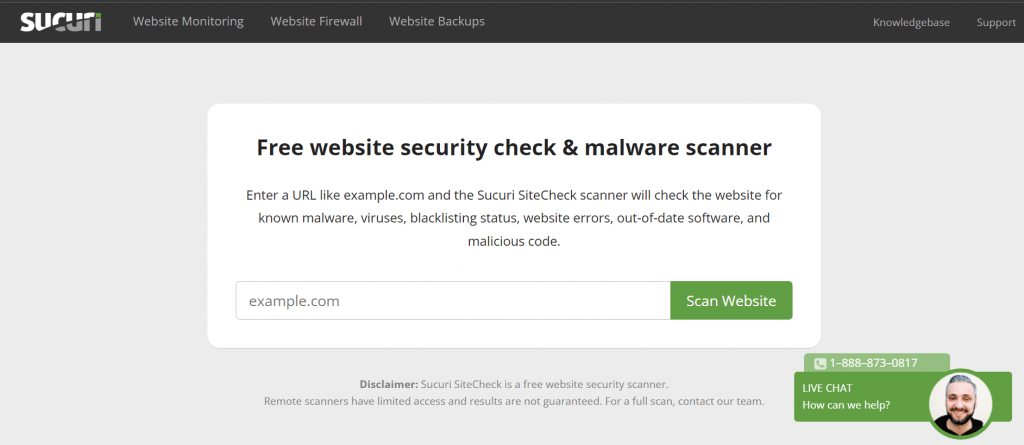
After this, Run the Anti-Malware Security and Brute-Force Firewall and thoroughly scan the site. Scan the site using Sucuri’s Site check to ensure you haven’t overlooked anything.
Finding the root cause of a WordPress hack might be difficult if you are not a professional, but it is not impossible if you have a keen eye.
Sum Up
That’s it, we hope you learned everything about Easy Steps for WordPress Malware Removal, And for the visitor who asked us to write an article on What is a Widget on WordPress, we have a dedicated article on this.
If you enjoyed this post, subscribe to our WordPress video tutorials on YouTube Channel. Remember to follow us on Pinterest.
We accept all kinds of visitor suggestions, as they continuously motivate us to improve. Feel free to comment below.